Mwhahahah! Dripping in blood (and STEAM learning potential!) is the one-of-a-kind pi-top [4] Halloween edition.
When we designed pi-top [4], we wanted to let anyone make anything quickly and easily, and so in this project I’ve pulled together a spooky skull with blood red flashing eyes and entombed it in a box. Here’s how it’s made.
Firstly, you need a skull, there are lots of these available online or in shops at this time of year. It doesn’t have to be a skull, you could use a vampire, werewolf or other monster.
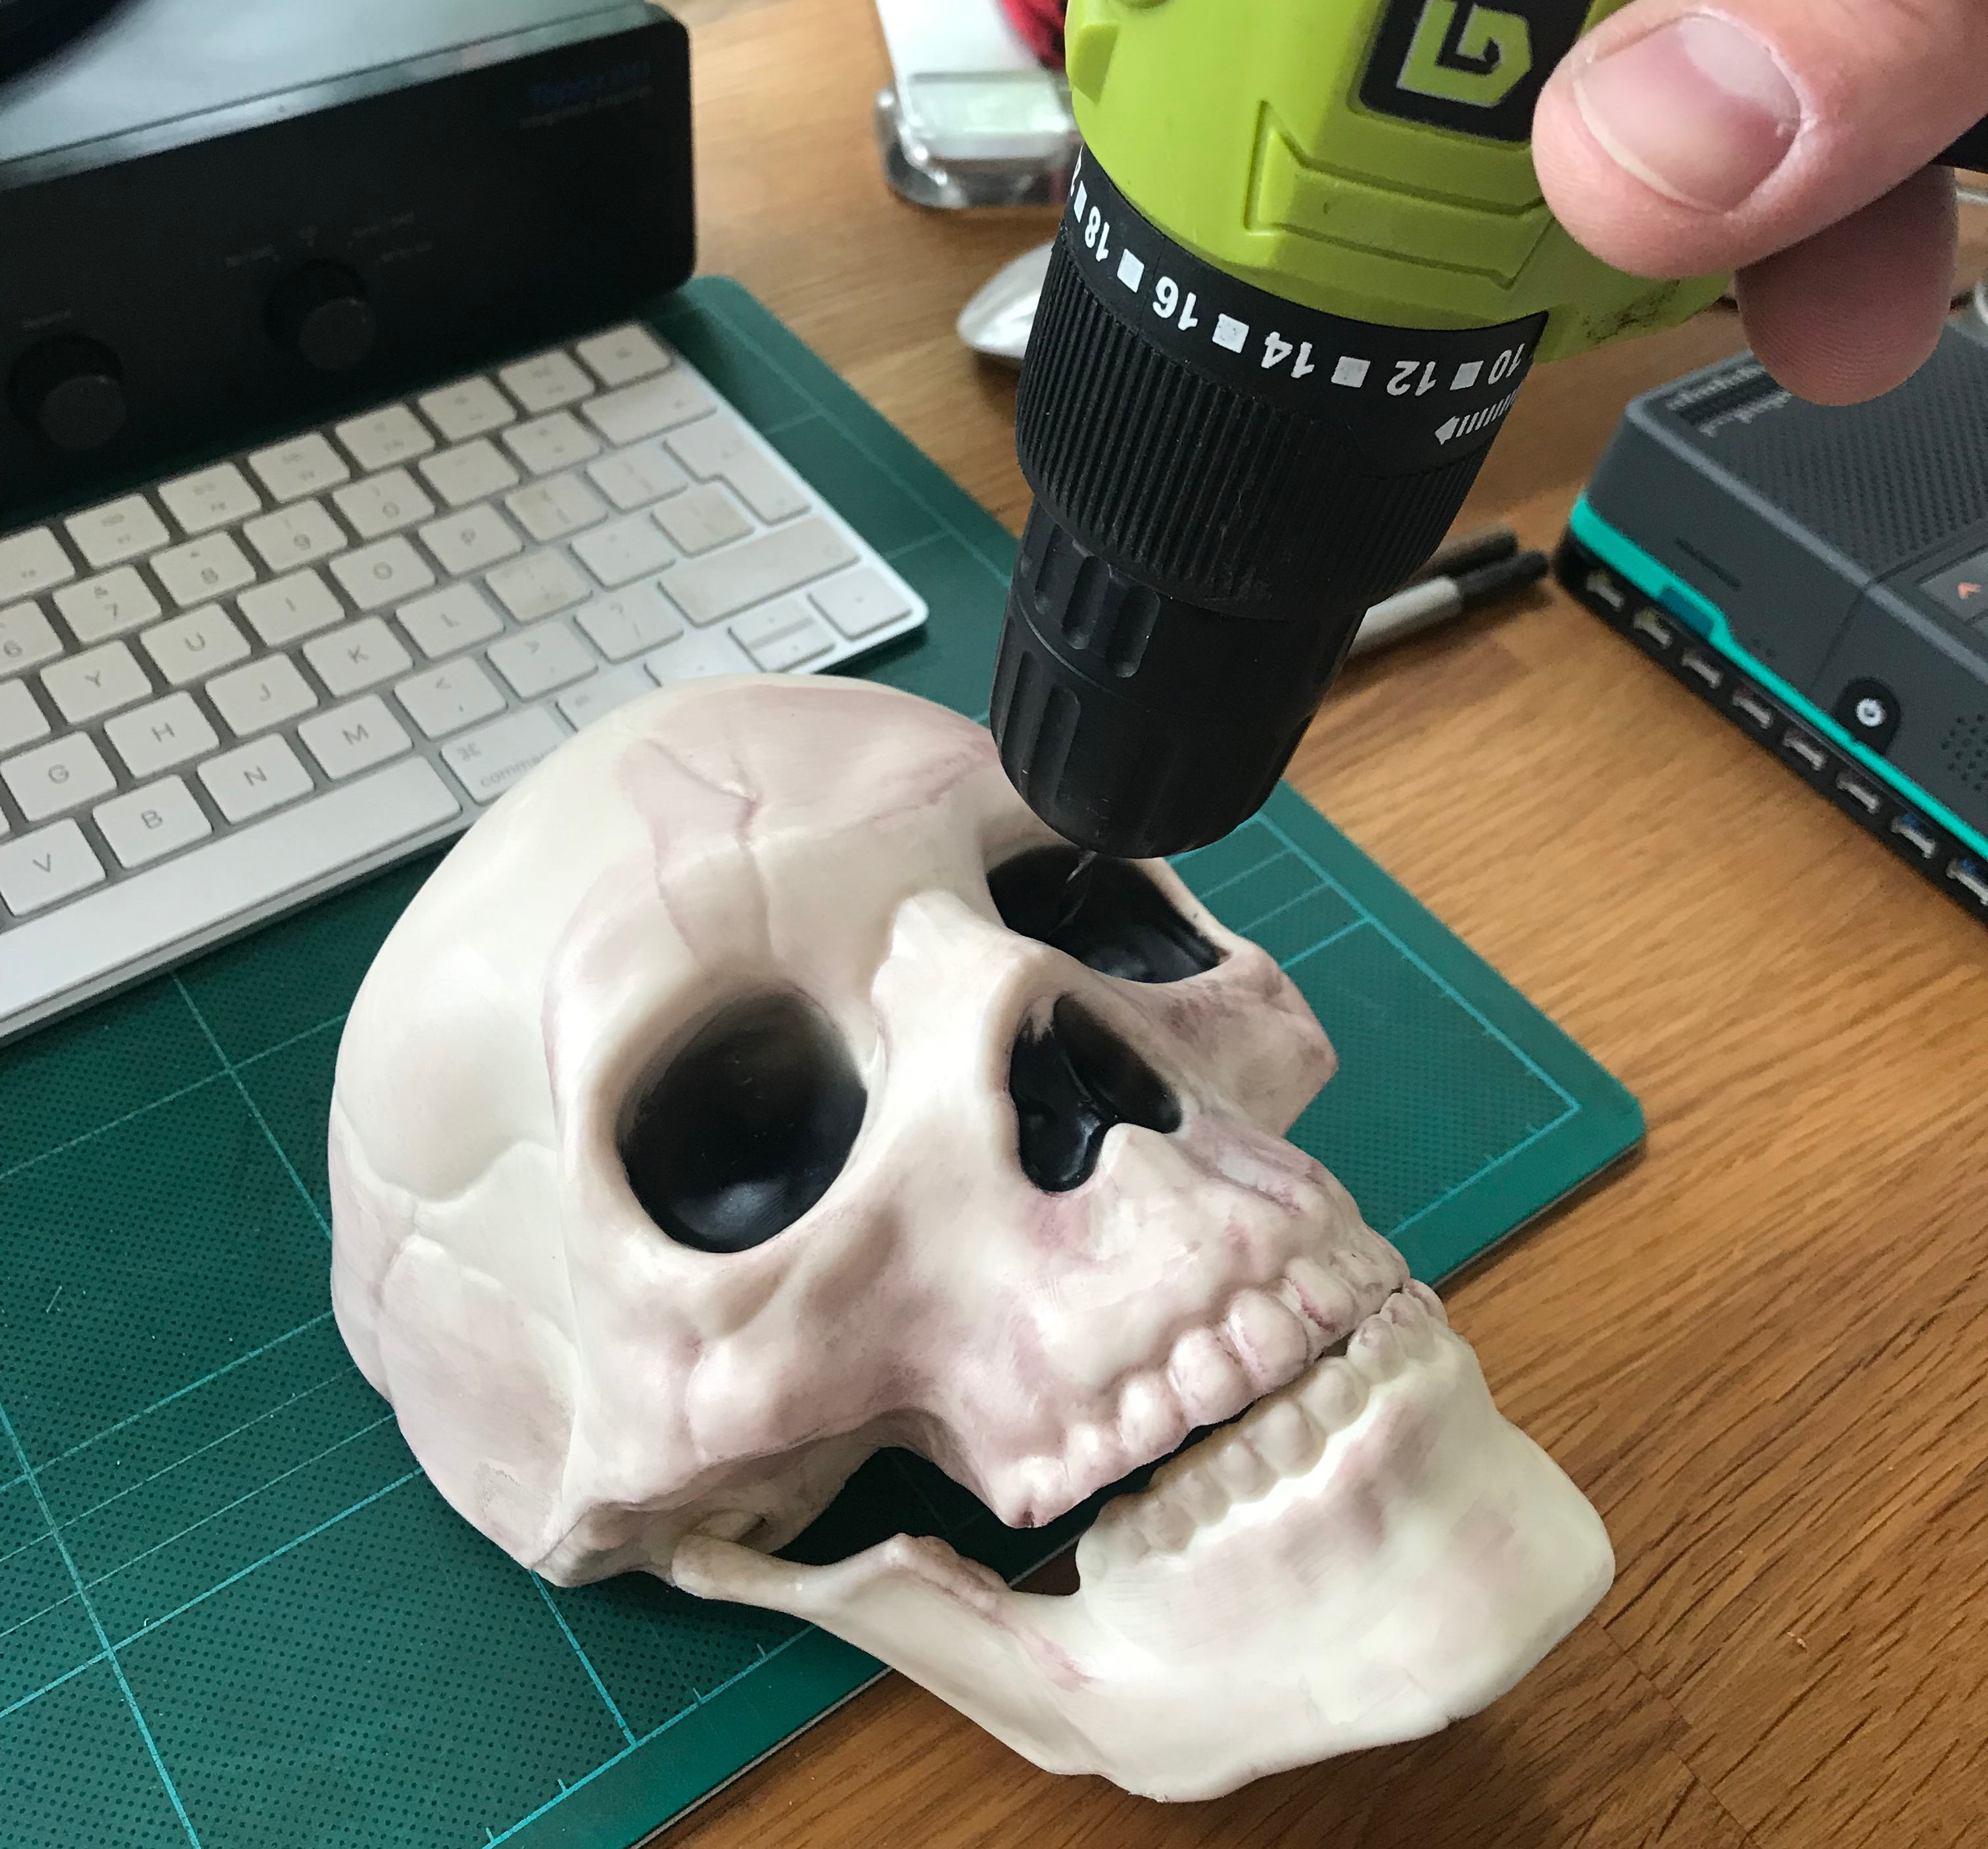
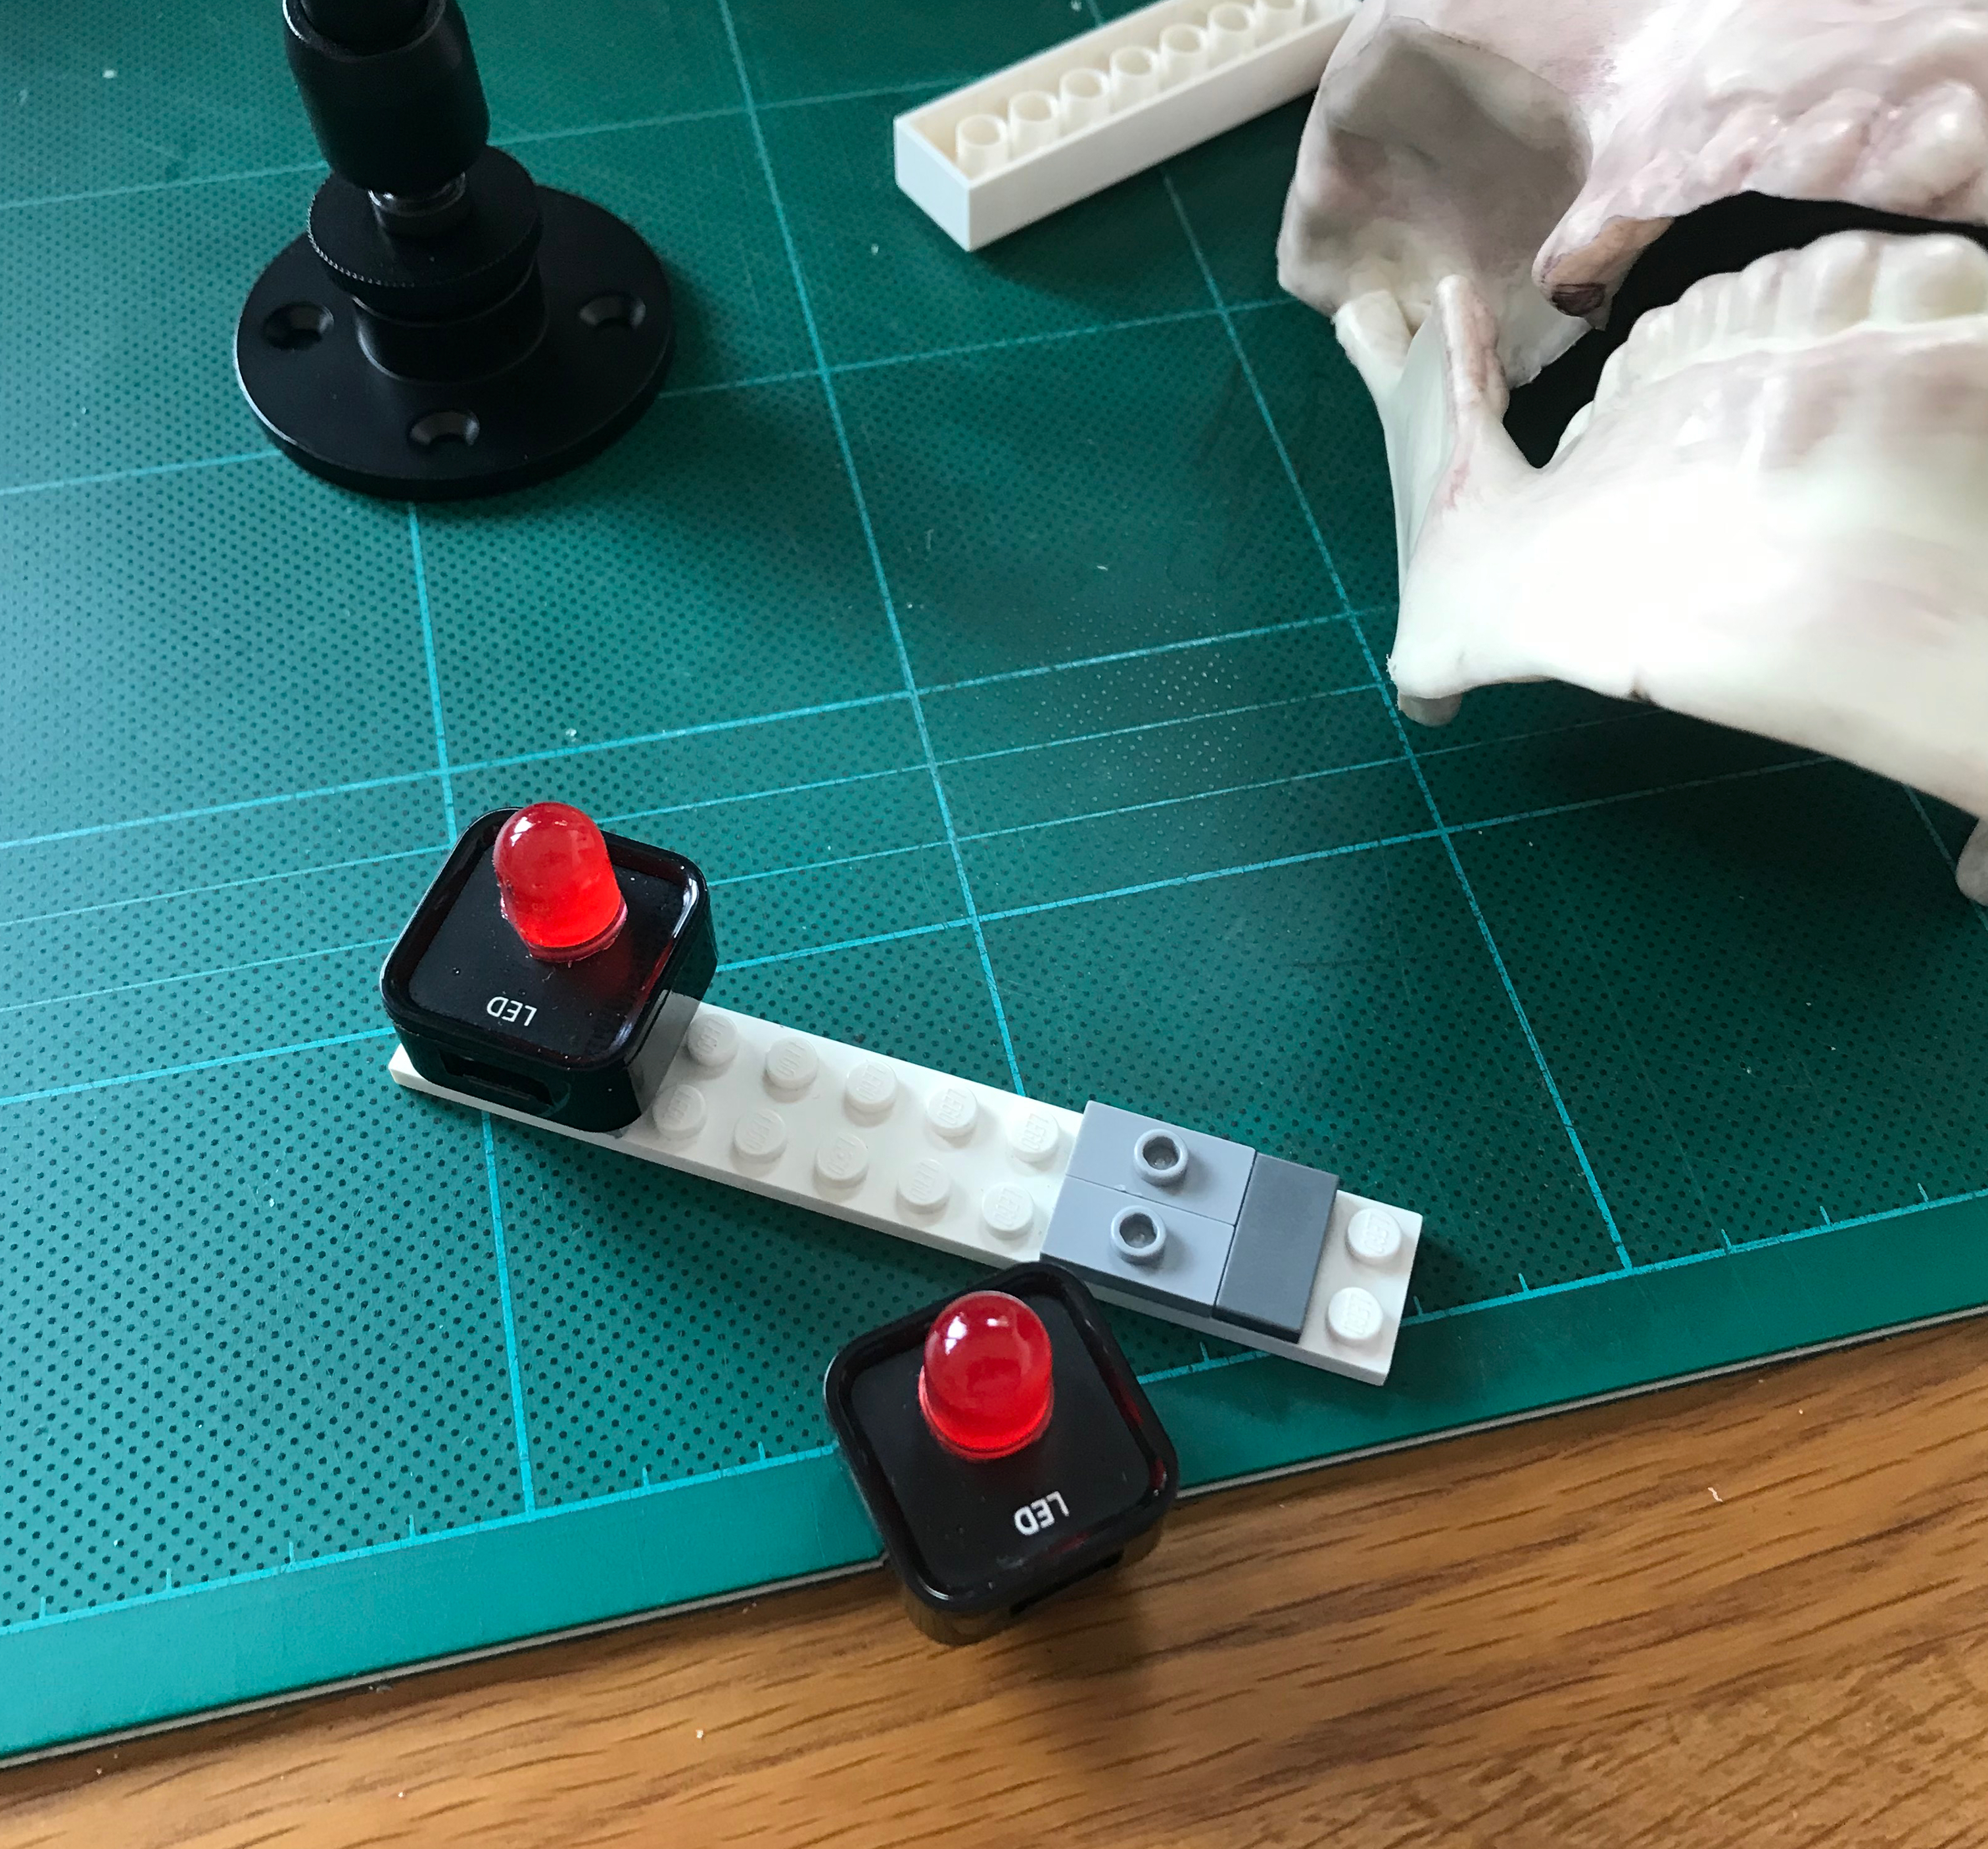
Using a set of calipers, I measured the precise width of the red LED from the Foundation Kit, so I could be sure of drilling a hole that would grip the LED snuggly. After drilling the eye holes and pushing the LEDs through I secured them together using the LEGO connectors and a few LEGO pieces.
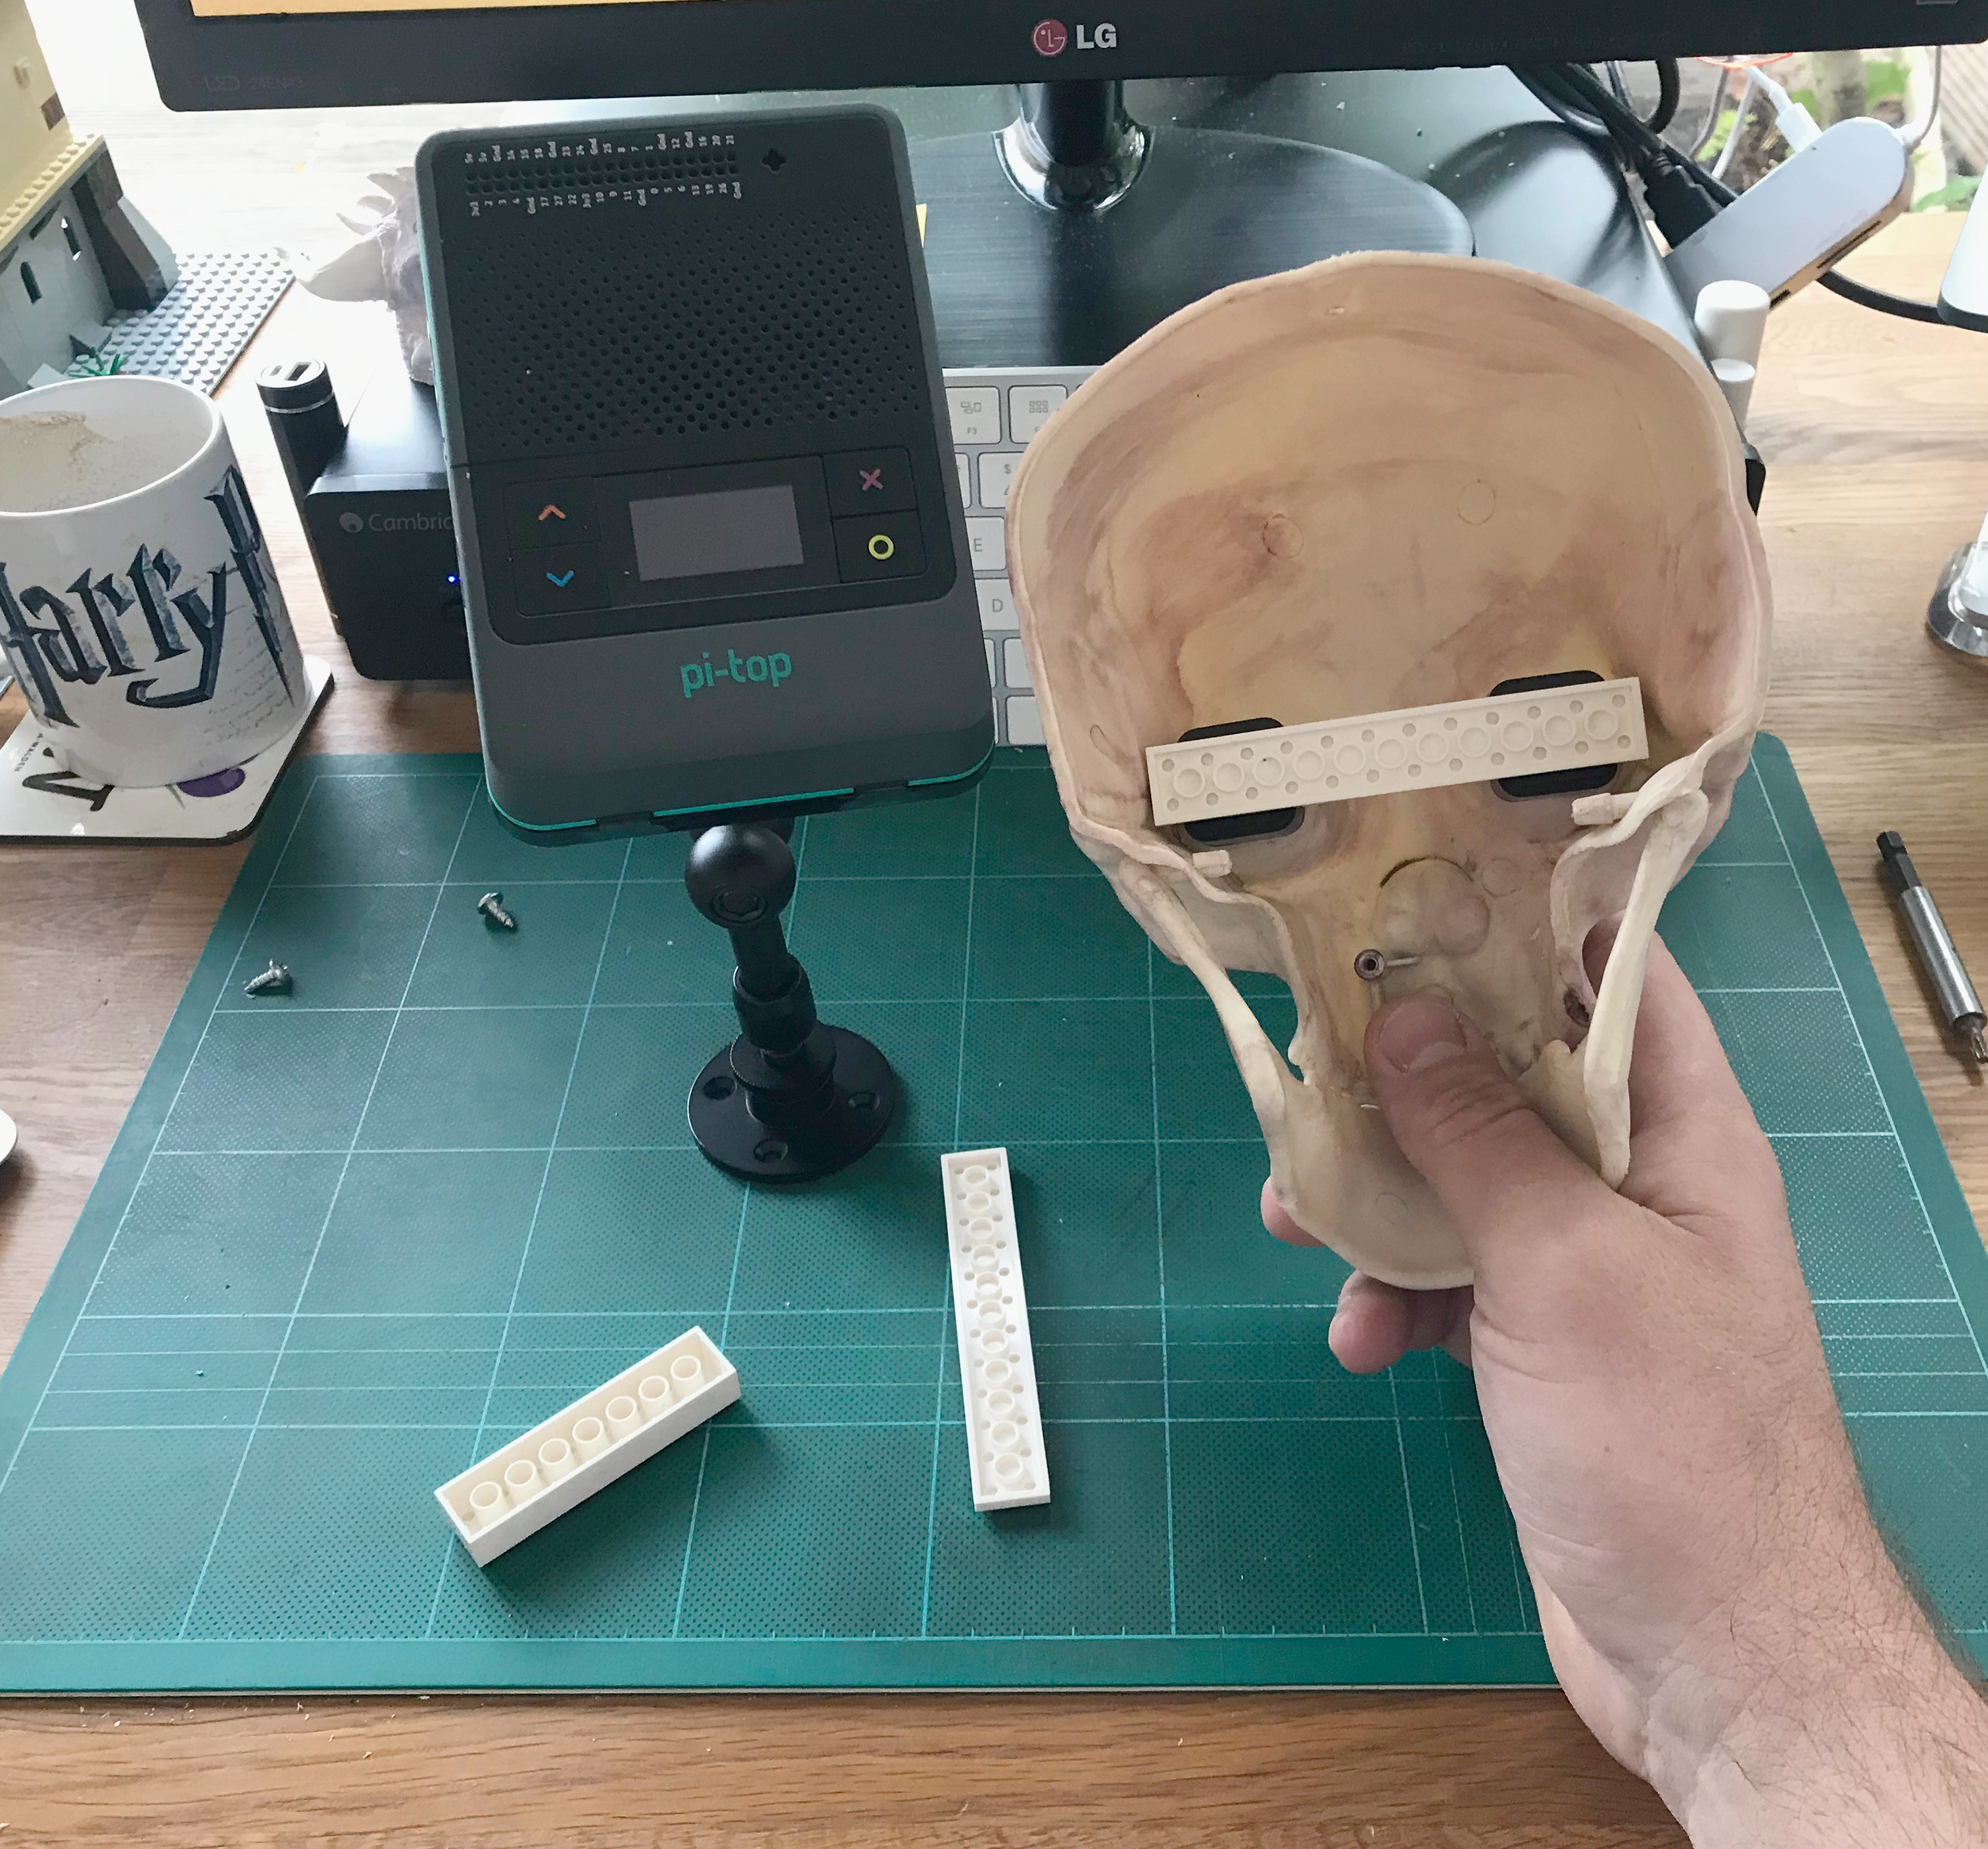
The gap between the eyes wasn’t a standard LEGO brick width apart, so I used two 1x2 jumper plates (3794) to move one of the LEDs over half a space. It now fits perfectly.
I’ve said it before but I’ll say it again – LEGO is a really easy way for children to prototype, make and attach pi-top [4] components to things when time and resources are limited. We designed pi-top [4] specifically to work with LEGO and other construction products so we could bring making to everyone, as most schools, clubs and groups have access to at least some LEGO.
With my skull's eyes now secure I set about cutting out space in the foam to hold the skull and pi-top [4]. Originally I was thinking of some sort of freestanding head you could put on a table, I thought about placing the ultrasonic sensor in the mouth so that when anyone approached the skull and waved their hands over it, it would scream or deliver a deadly curse.
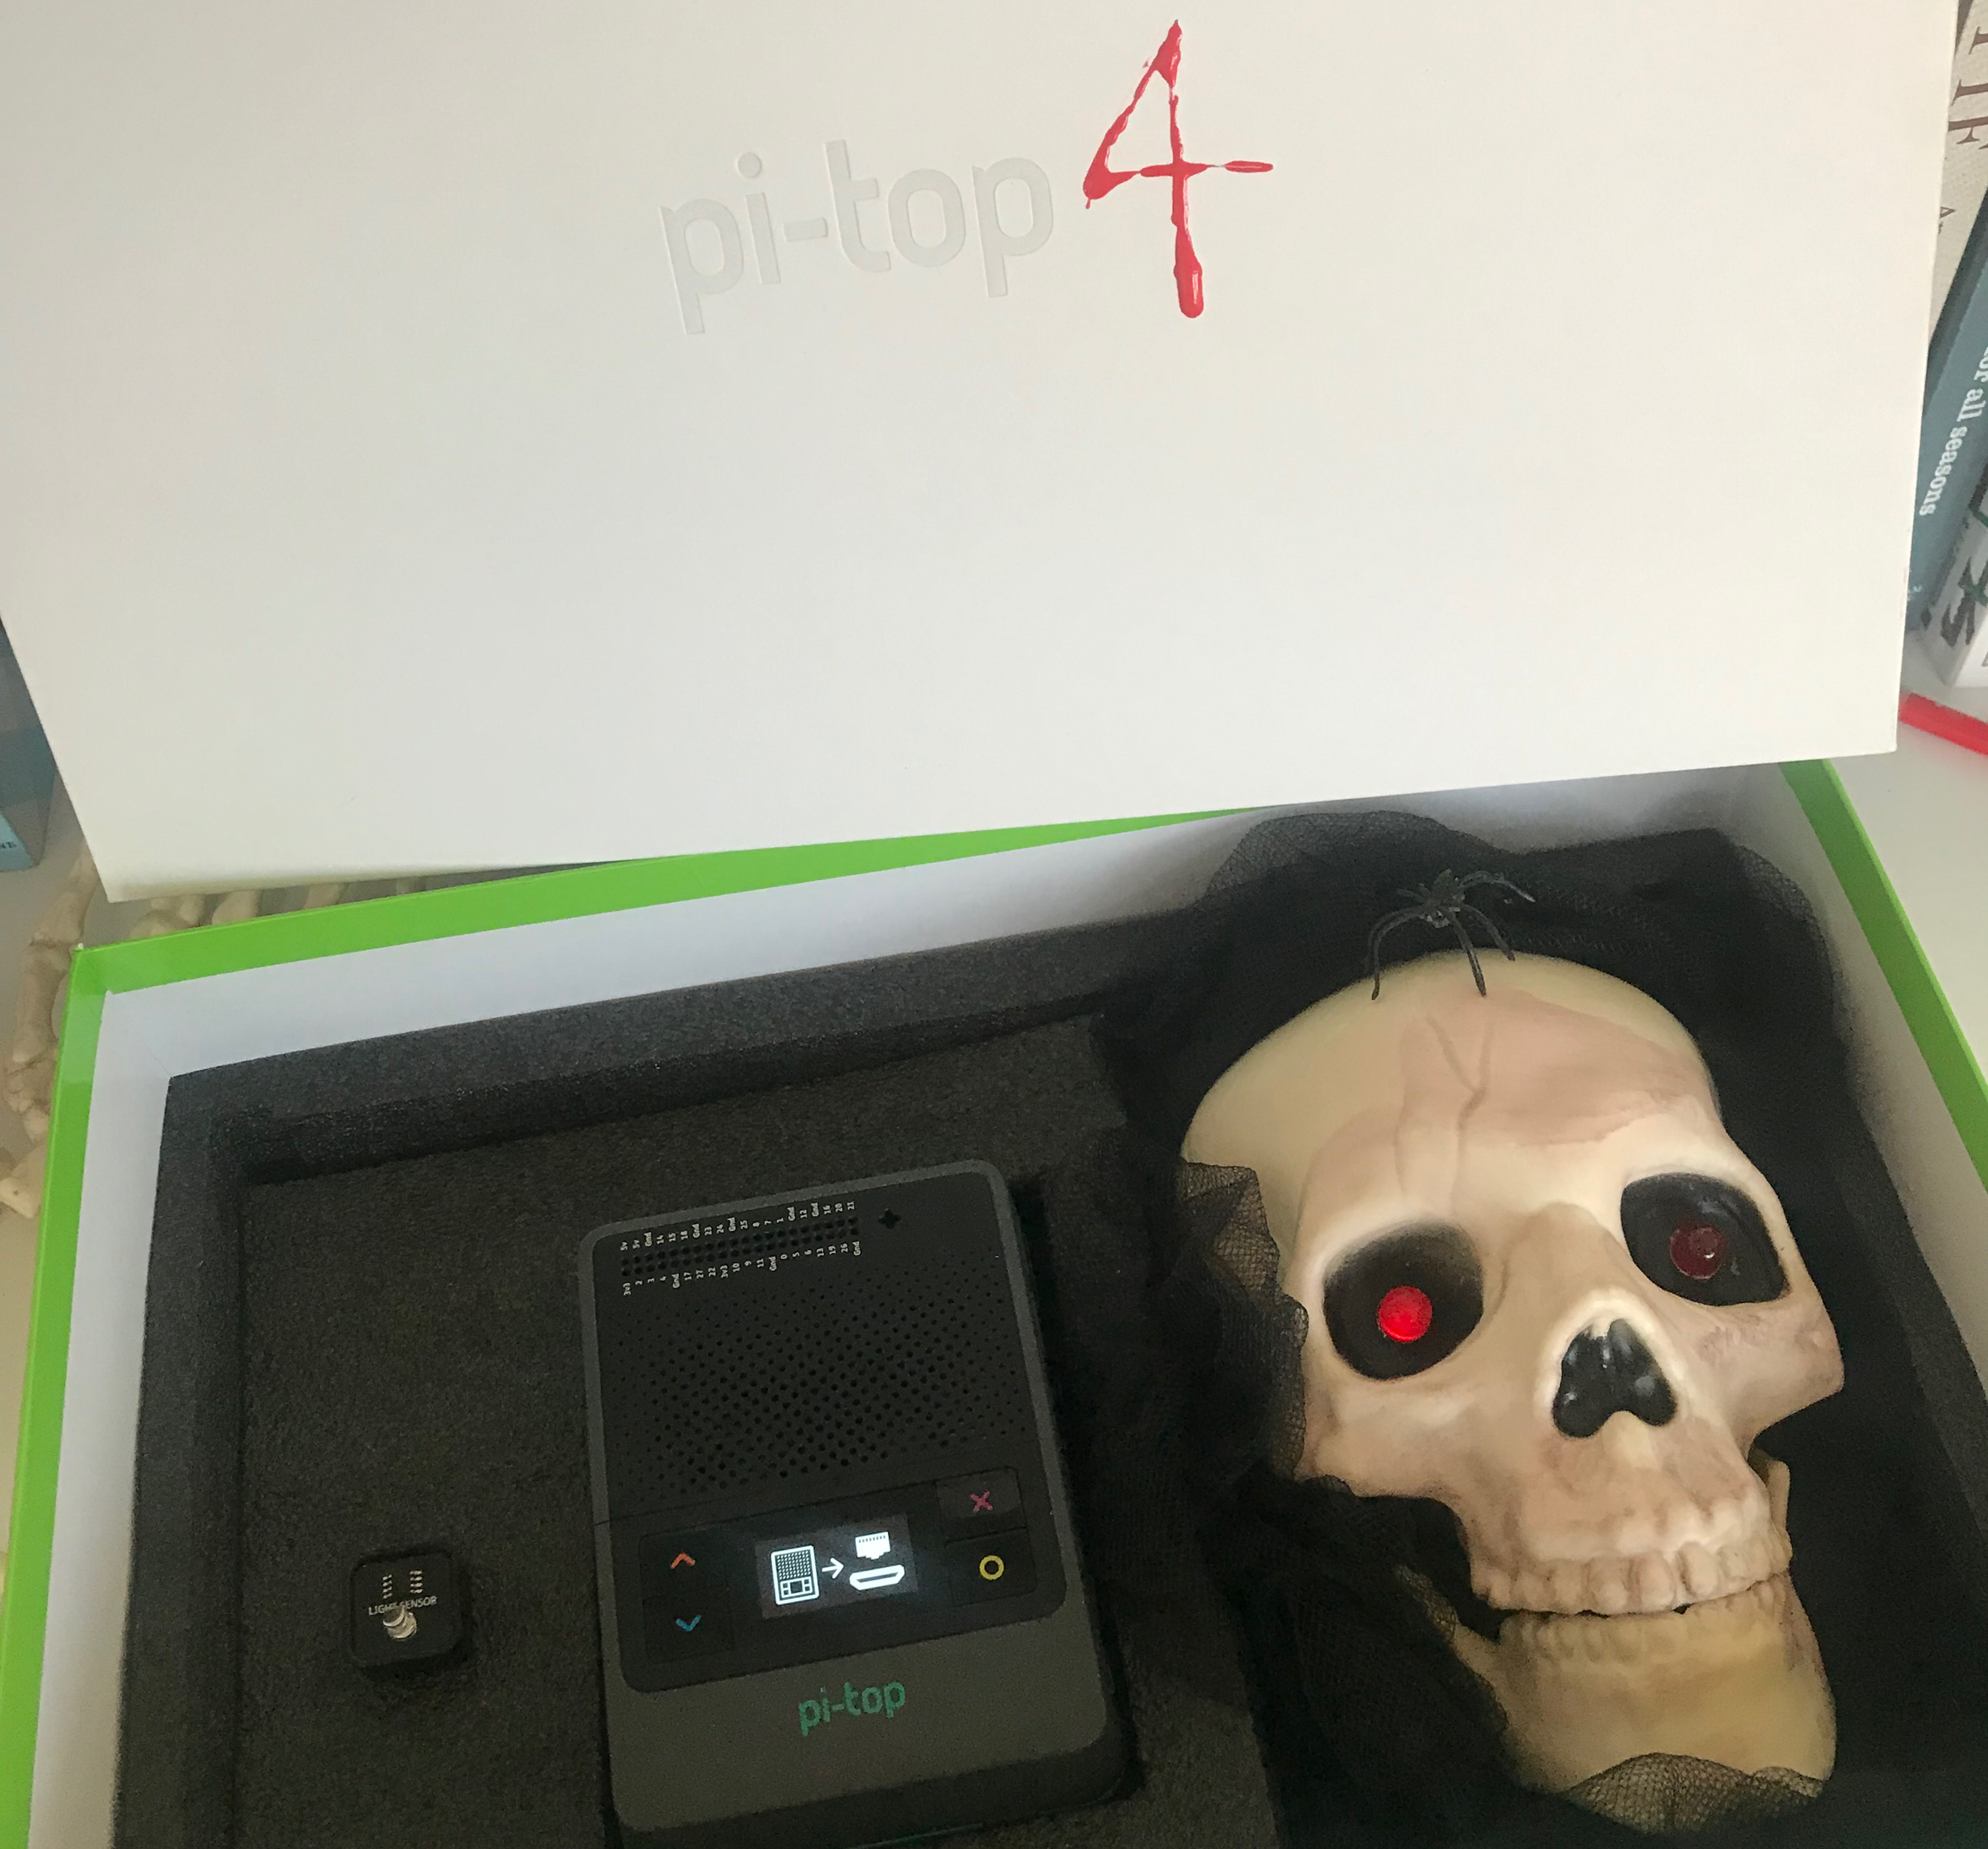
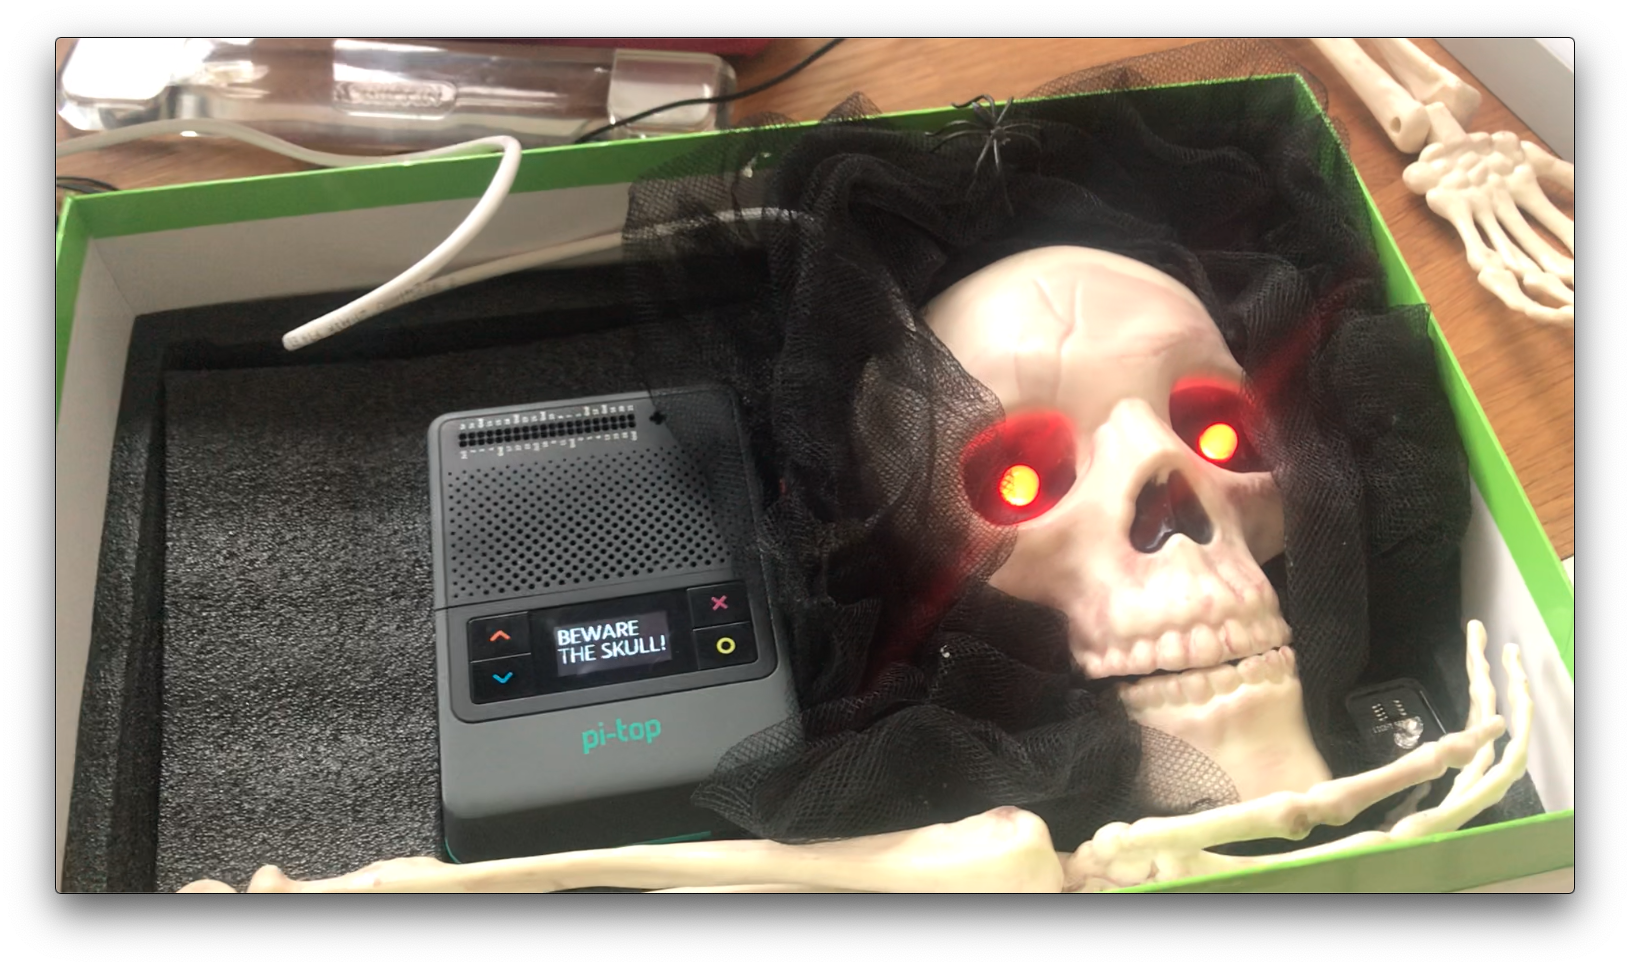
In the end I went with the light sensor option as I wanted the skull to be revealed from somewhere hidden so as to be a bit more scary.
Now when you lift the lid off the box the light sensor senses the change in light, flashes the eyes and plays a zombie sound file, which only stops when you put the lid back on.
This simple project took around 90 minutes to build and the only costs were £4.99 for the skull. Obviously if you’ve got more time you can really go to town, adding motors to make the jaw move would be quite fun. Or you could record your own sound file using a simple USB microphone and some audio software.
And of course with Christmas just around the corner, it’s easy to re-purpose this project as a laughing Santa Claus which is much more jolly!
![Buy pi-top [4] Complete](https://no-cache.hubspot.com/cta/default/4368942/0eff10d9-aeb6-4645-92a4-f3b960ca8182.png)
![Buy pi-top [4] DIY Edition](https://no-cache.hubspot.com/cta/default/4368942/e3e16008-51df-4141-83ad-62c86f89af28.png)
The code
from ptpma.components import *
from ptbuttons import *
from ptoled import PTOLEDDisplay
from time import sleep
import os
mini_screen = PTOLEDDisplay()
canvas = mini_screen.canvas
canvas.set_font_size(25)
left_eye = PMALed ("D0")
right_eye = PMALed ("D1")
light_sensor = PMALightSensor("A0")
select = PTSelectButton()
left_eye.off()
right_eye.off()
def open():
right_eye.on()
left_eye.on()
canvas.clear()
canvas.multiline_text(canvas.top_left(), "BEWARE THE SKULL!")
mini_screen.draw()
os.system("aplay /home/pi/Desktop/zombie.wav")
def closed():
right_eye.off()
left_eye.off()
canvas.clear()
mini_screen.draw()
while True:
if light_sensor.reading > 100:
open()
else:
closed()