In this article, educator and technology enthusiast Ivan Roulson shares how he built a small, lightweight, and low-cost robot.
There was once a robot called Robbie
Who was part of a constructor’s hobby.
His wires were gold,
But his tyres were bald,
And his axes were all very sloppy.
I wrote that probably 30 years ago as a competition entry for a popular electronics magazine. I didn’t win, but it was published! The idea of having something wandering around autonomously has always fascinated me and as I developed my electronics knowledge it was something I had to try out.
My first foray into computing and programming began as a teenager when my father bought a Jupiter Ace. The few other computer users that I knew at that time had Sinclair Spectrums and one with a VIC-20. Programming the Ace didn’t match what they were doing, as they had access to BASIC and I had Forth. Eventually, I seemed to get a grasp of it and when I went to college I found that it gave me an interesting perspective on programming. The manual for the Ace had instructions for connecting to the outside world, but sadly a misprint meant that we didn’t succeed with building a working interface until much later.
At college, studying Electrical and Electronic Engineering, I ended up using BBC computers with their much wider range of interface ports and for my major project I built a pen plotter complete with a simple piece of CAD software. I had been truly bitten by the computing bug.
As the rest of the world moved on towards PCs, I still kept the Jupiter Ace, eventually expanding it with a Centronics printer port, proper keyboard and 35kB of memory. I now had enough to write my dissertation on my self-written word processor, saving regularly to cassette tape.
After finishing college I became a test engineer, automating the testing process of a wide product range using Microsoft BASIC and GPIB instrumentation equipment. A number of years later, I retrained as a teacher. The last 20 years have been fantastic – the developments in interfacing and programming possibilities have continued unabated, from PIC microcontrollers, through the PICAXE to more complete systems such as the MicroBit, Codebug, Crumble and the Raspberry Pi. It has been great to see students adopt these systems and as a Design and Technology teacher, I get to see these being put to great use in practical products.
My other great interest would have to be Lego – it’s a great construction system which in my view encourages risk-taking and experimentation. If it’s wrong, modifications are quick and easy.

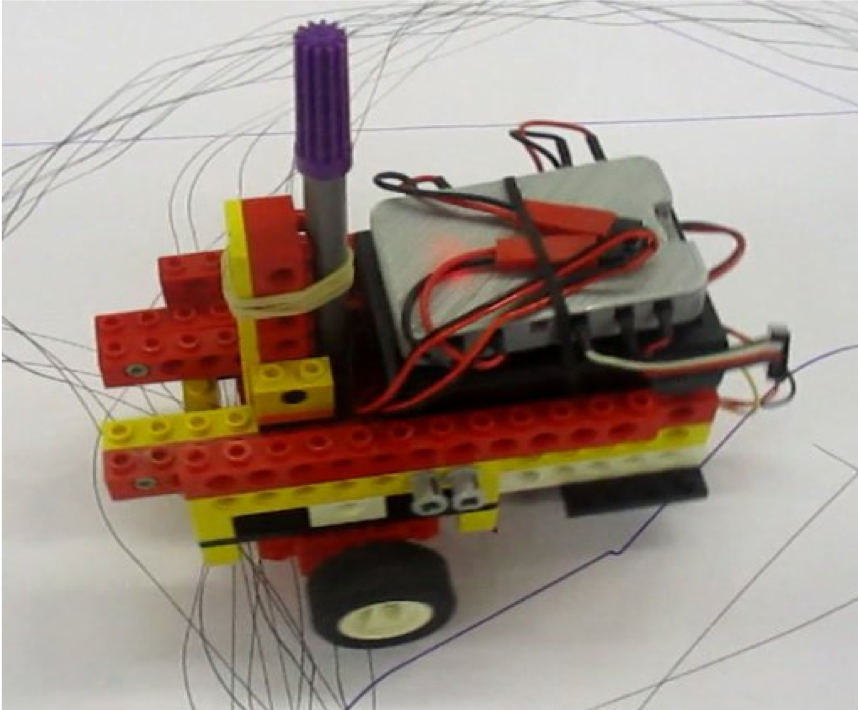
When the Redfern Electronics “Crumble” came along a few years ago, the usefulness was perhaps lost on me. Sure, it could drive those RGB LEDs but apart from that, I couldn’t see anything that wasn’t possible with a PICAXE which I’d been using for a long time. That is, until I started to experiment with the motor drivers. These are integrated on the board and therefore all that is required is a battery pack and the connections to motors and sensors. Redfern Electronics provided me with CAD outlines for the board, so I was able to draw and 3D print a rugged case and then make connections to the off-board motors with solder tags and M3 nuts and bolts. The Crumble will happily run from 3 x AA cells and boots instantly. Eventually I’ll make the case available online for others to print their own once I’m completely happy.
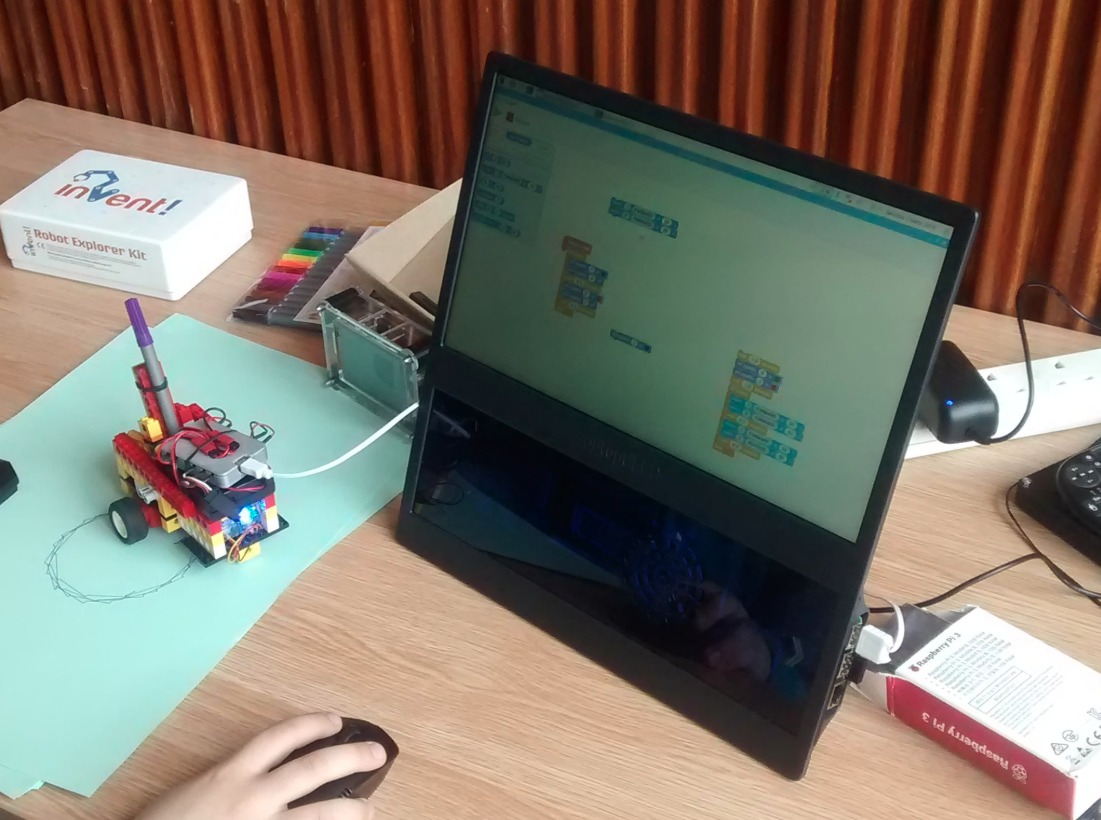
The Crumble has software that runs well on either a PC or a Raspberry Pi. Since I have a pi-topCEED, which boots at light-speed compared to our Windows laptop, I was determined to have another go at some simple robotics. Small, lightweight and low cost with (hopefully) maximum fun to introduce to the Raspberry Pi club at school.
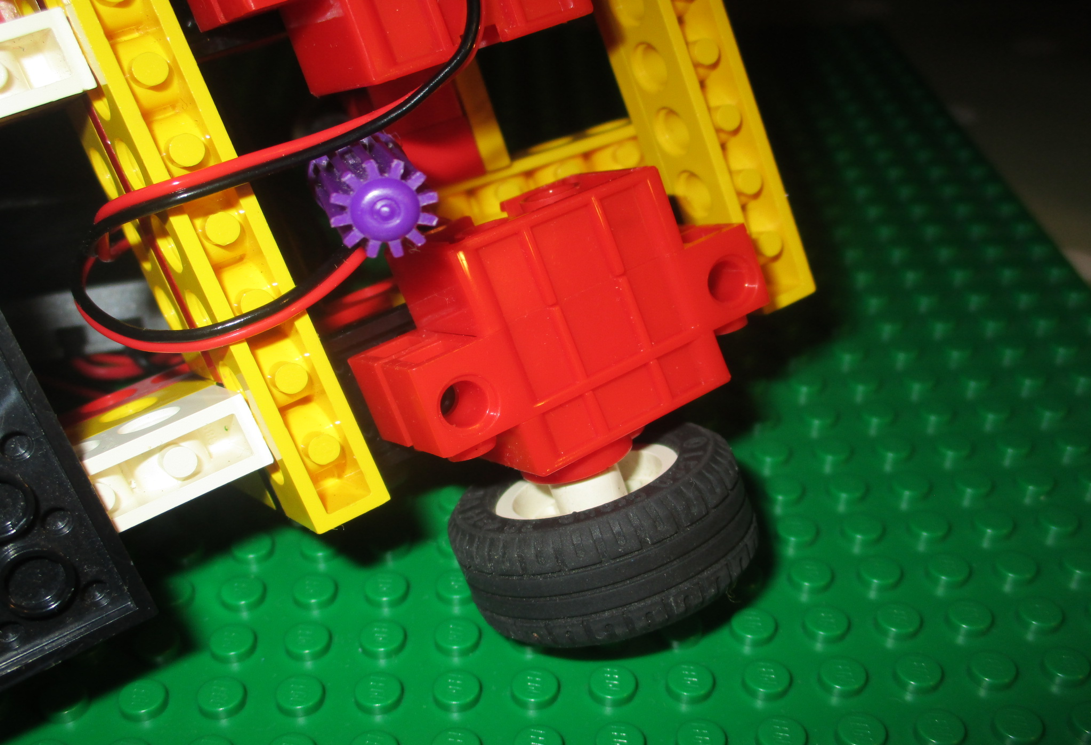
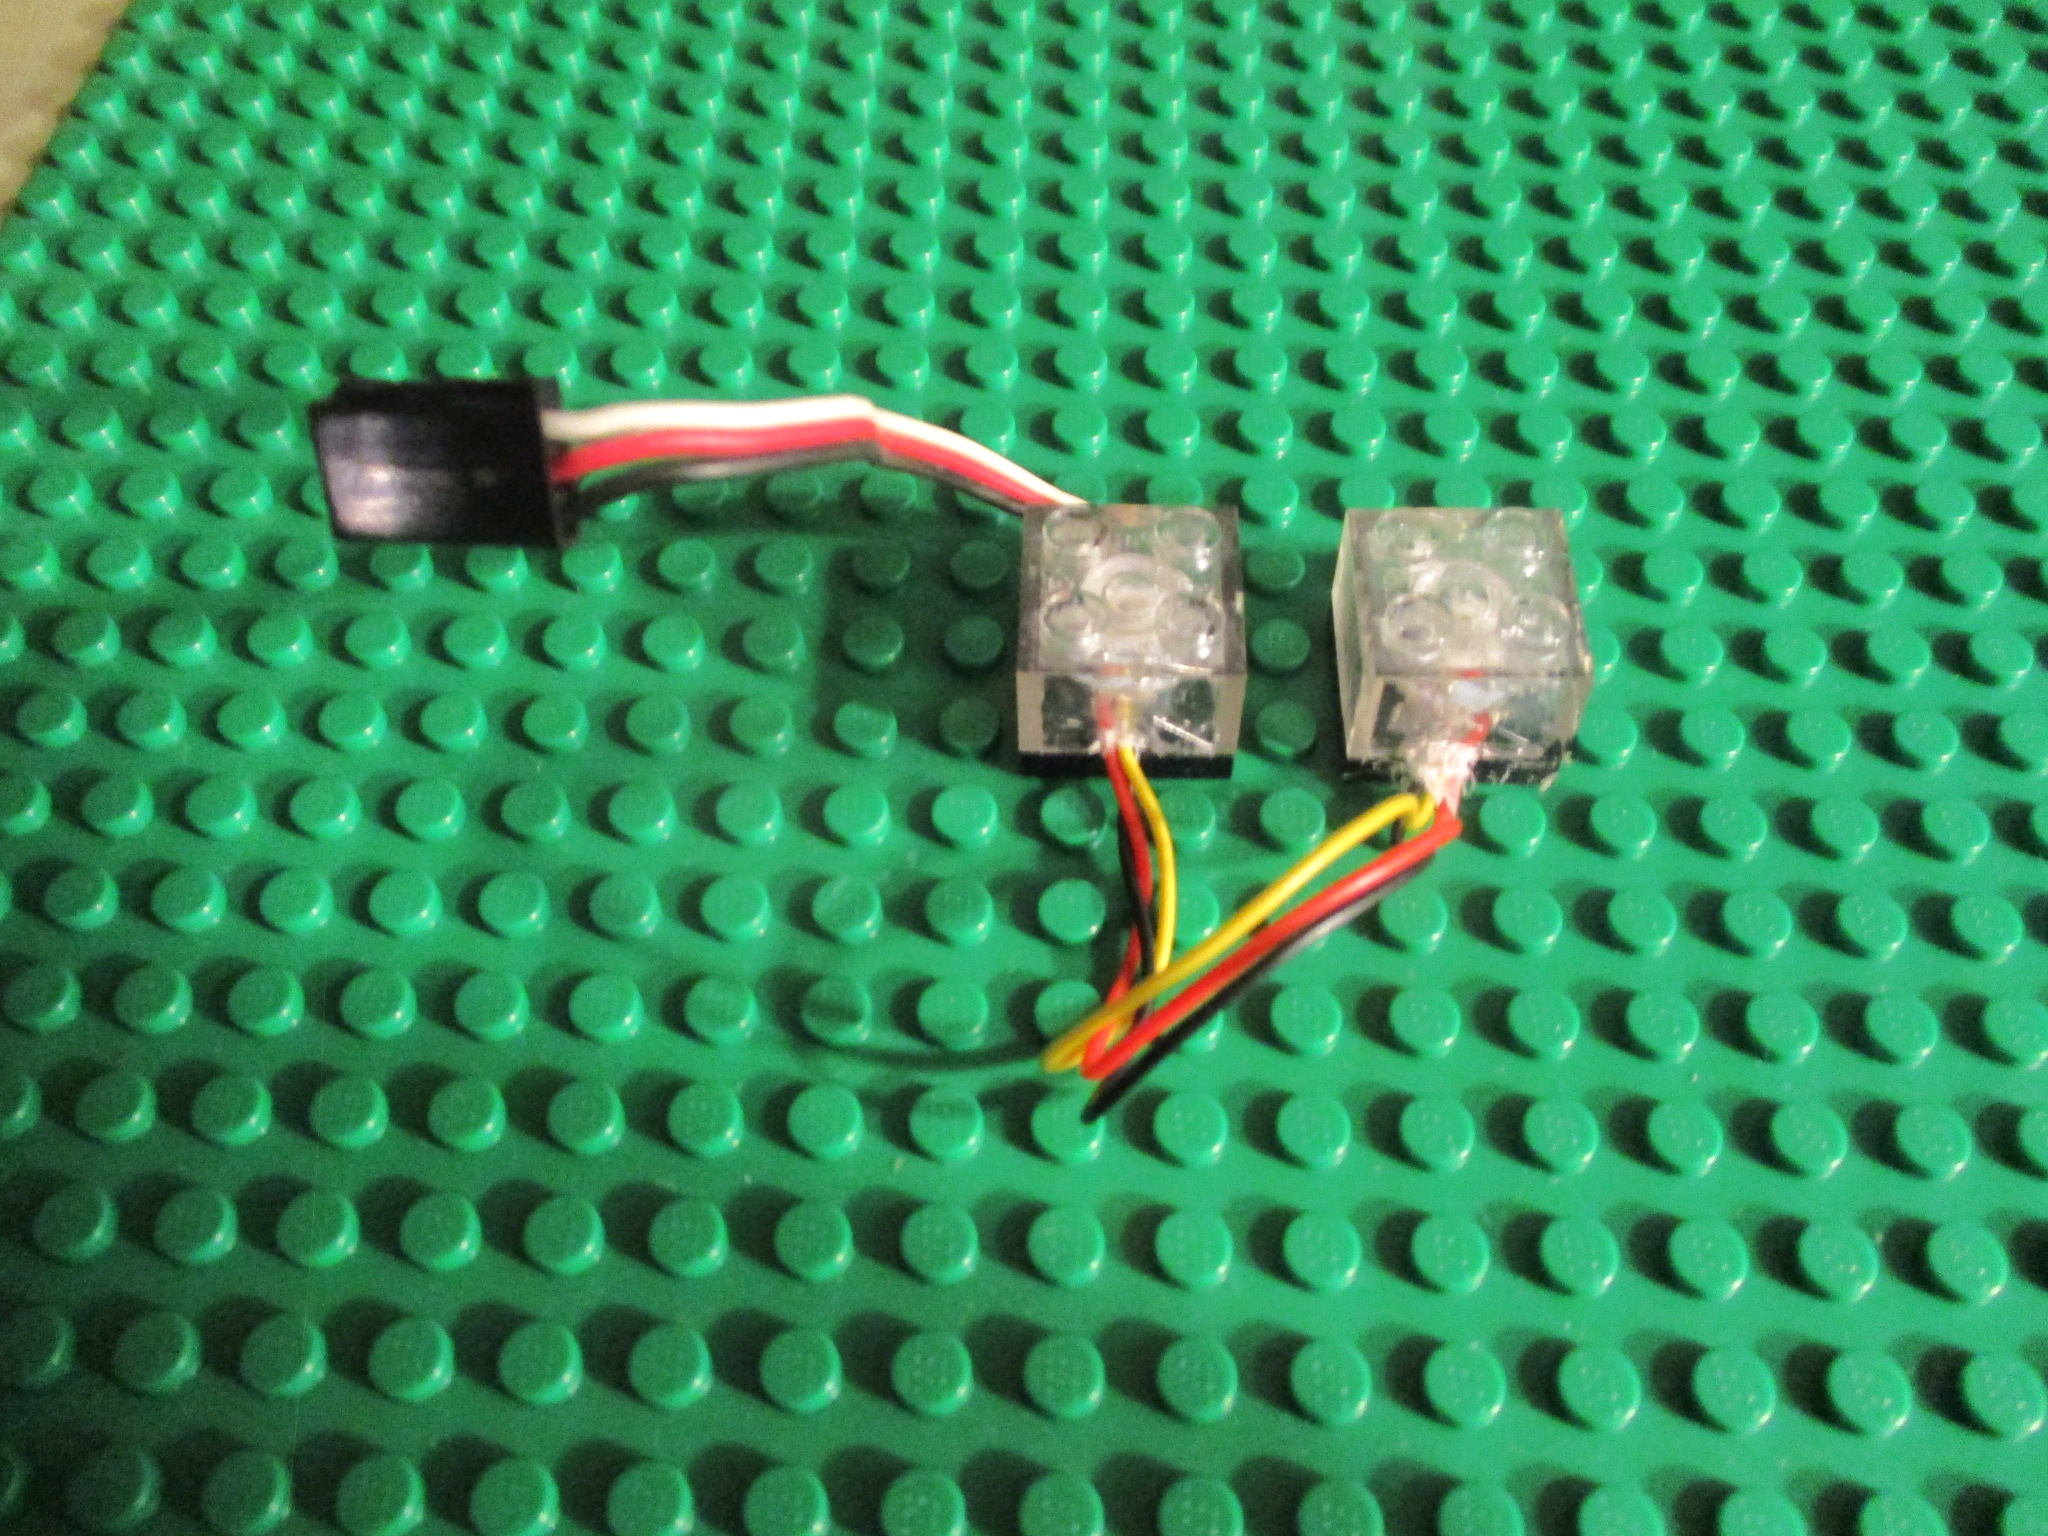
The last link in the chain was finding and buying some small motors that were compatible with Lego spacing. Aliexpress have two types – geared motors and servos. The red units are the motors and the grey ones are three-terminal servos which work with the Crumble’s servo command. The motors could have wheels fitted to the end and soon I would have a chassis which would support the Crumble and its battery pack.
Installing the software is easy following the instructions on the Redfern Electronics website, and within a few moments I was presented with the familiar Scratch/Blockly graphical programming paradigm. This was instantly familiar and certainly a far cry from my early days with Forth.
The Crumble connects to the Raspberry Pi through a USB/microUSB cable, but don’t make the mistake I did – I had a few that were power only, with no data connections.
Downloading and running takes a matter of seconds. There’s a menu option and a green Play symbol to choose from. I’d like a keyboard shortcut (Preferably f5), but that’s me being picky.
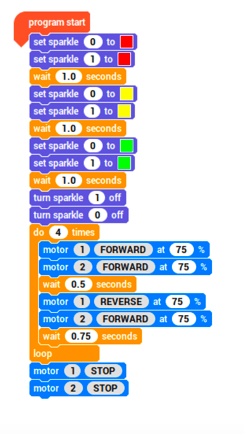
The Crumble seems to cope with the motors with no hassle. It has a PWM function so it’s possible to go from a crawl to flat-out zooming off the edge of the table in no time. I’ll suggest a long USB cable here so that you can keep it tied by an umbilical while you’re experimenting.
I’ve converted some Lego bricks to hold individual RGB LEDs, and having these at the start enables me to have a bit of a pause before the thing heads off in earnest. I can’t remember how many LEDs the board can cope with, but I’m sure it’s enough for most projects.
My little Lego Crumble-bot has a pen-holder so that I can experiment with some turtle graphics. The pen is held on a pivoting piece so that it’s always in contact with the paper without lifting the driving wheels off the ground. It rests on the paper under its own weight. With a bit of adjustment, I can make the pen sit quite accurately between the front wheels and draw corners by turning one set of wheels forward and one backward like a tank or wheelchair.
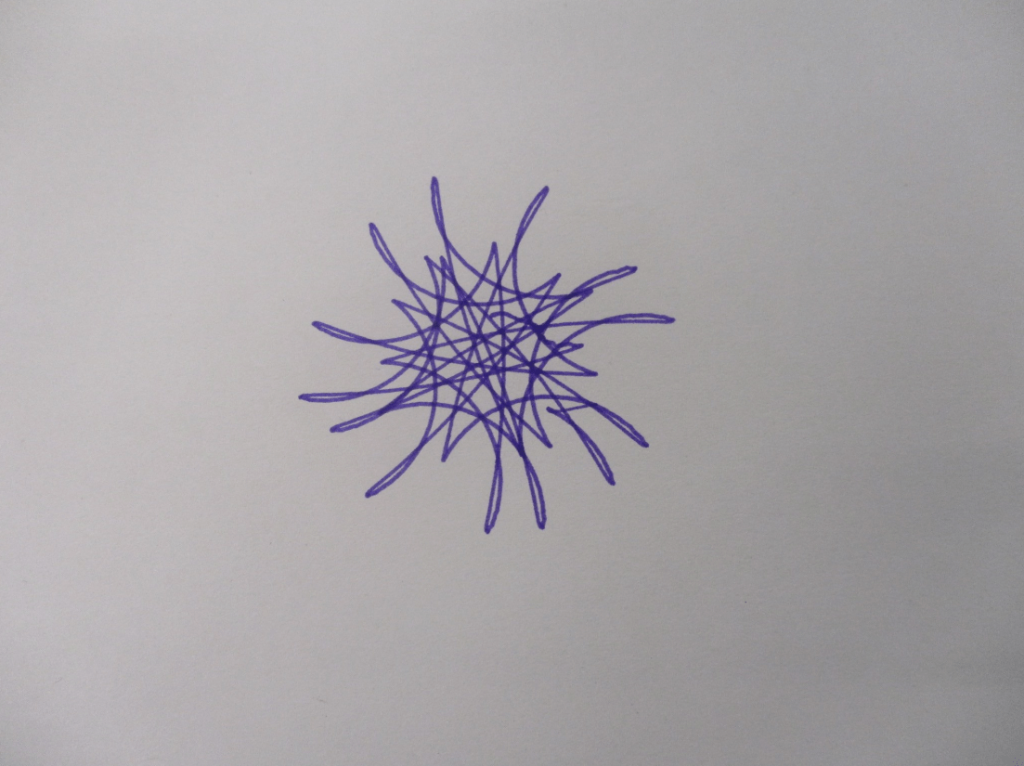
Repeating a forward/turn routine a number of times results in some pleasing star or polygon patterns and it has been lovely to see some of my club students enjoying the results. The next step will be to put a lifting fork on the front, along with a Lego-compatible servo, to go and collect things. Sadly, I missed sending the little bot on an Easter Egg collection before the term ended, but I think that might be the first challenge to come in the new term.
I’m also thinking that creating some sort of Lego fairground ride could be great fun, particularly with a whole bunch of RGB LEDs.
In all, therefore, I feel that the Crumble, connected with a Raspberry Pi (and particularly one of the pi-top family) makes an excellent development system for these simple robots.
Ivan Roulson hangs out on Twitter @RPiKitchenChef and on his occasional blog at rpikitchen.wordpress.com